The Easiest Way to Make Kombucha (14 steps with pictures!)
One of the most common things I get asked is how to make Kombucha. At first it can seem overwhelming, but it’s really so easy once you get the hang of it. I am not going to go into the health benefits, you can research that for yourself. I will say that it has cured my addiction to dr. pepper, but really boasts of health benefits way beyond that. In short, it helps heal and balance gut health. There are a lot of super smart, science loving people that would love to explain it to you via the world wide web.
Therefore, I’ll stick to practical and share how easy it is to make. Here are pictures and my step by step process.
Enjoy!
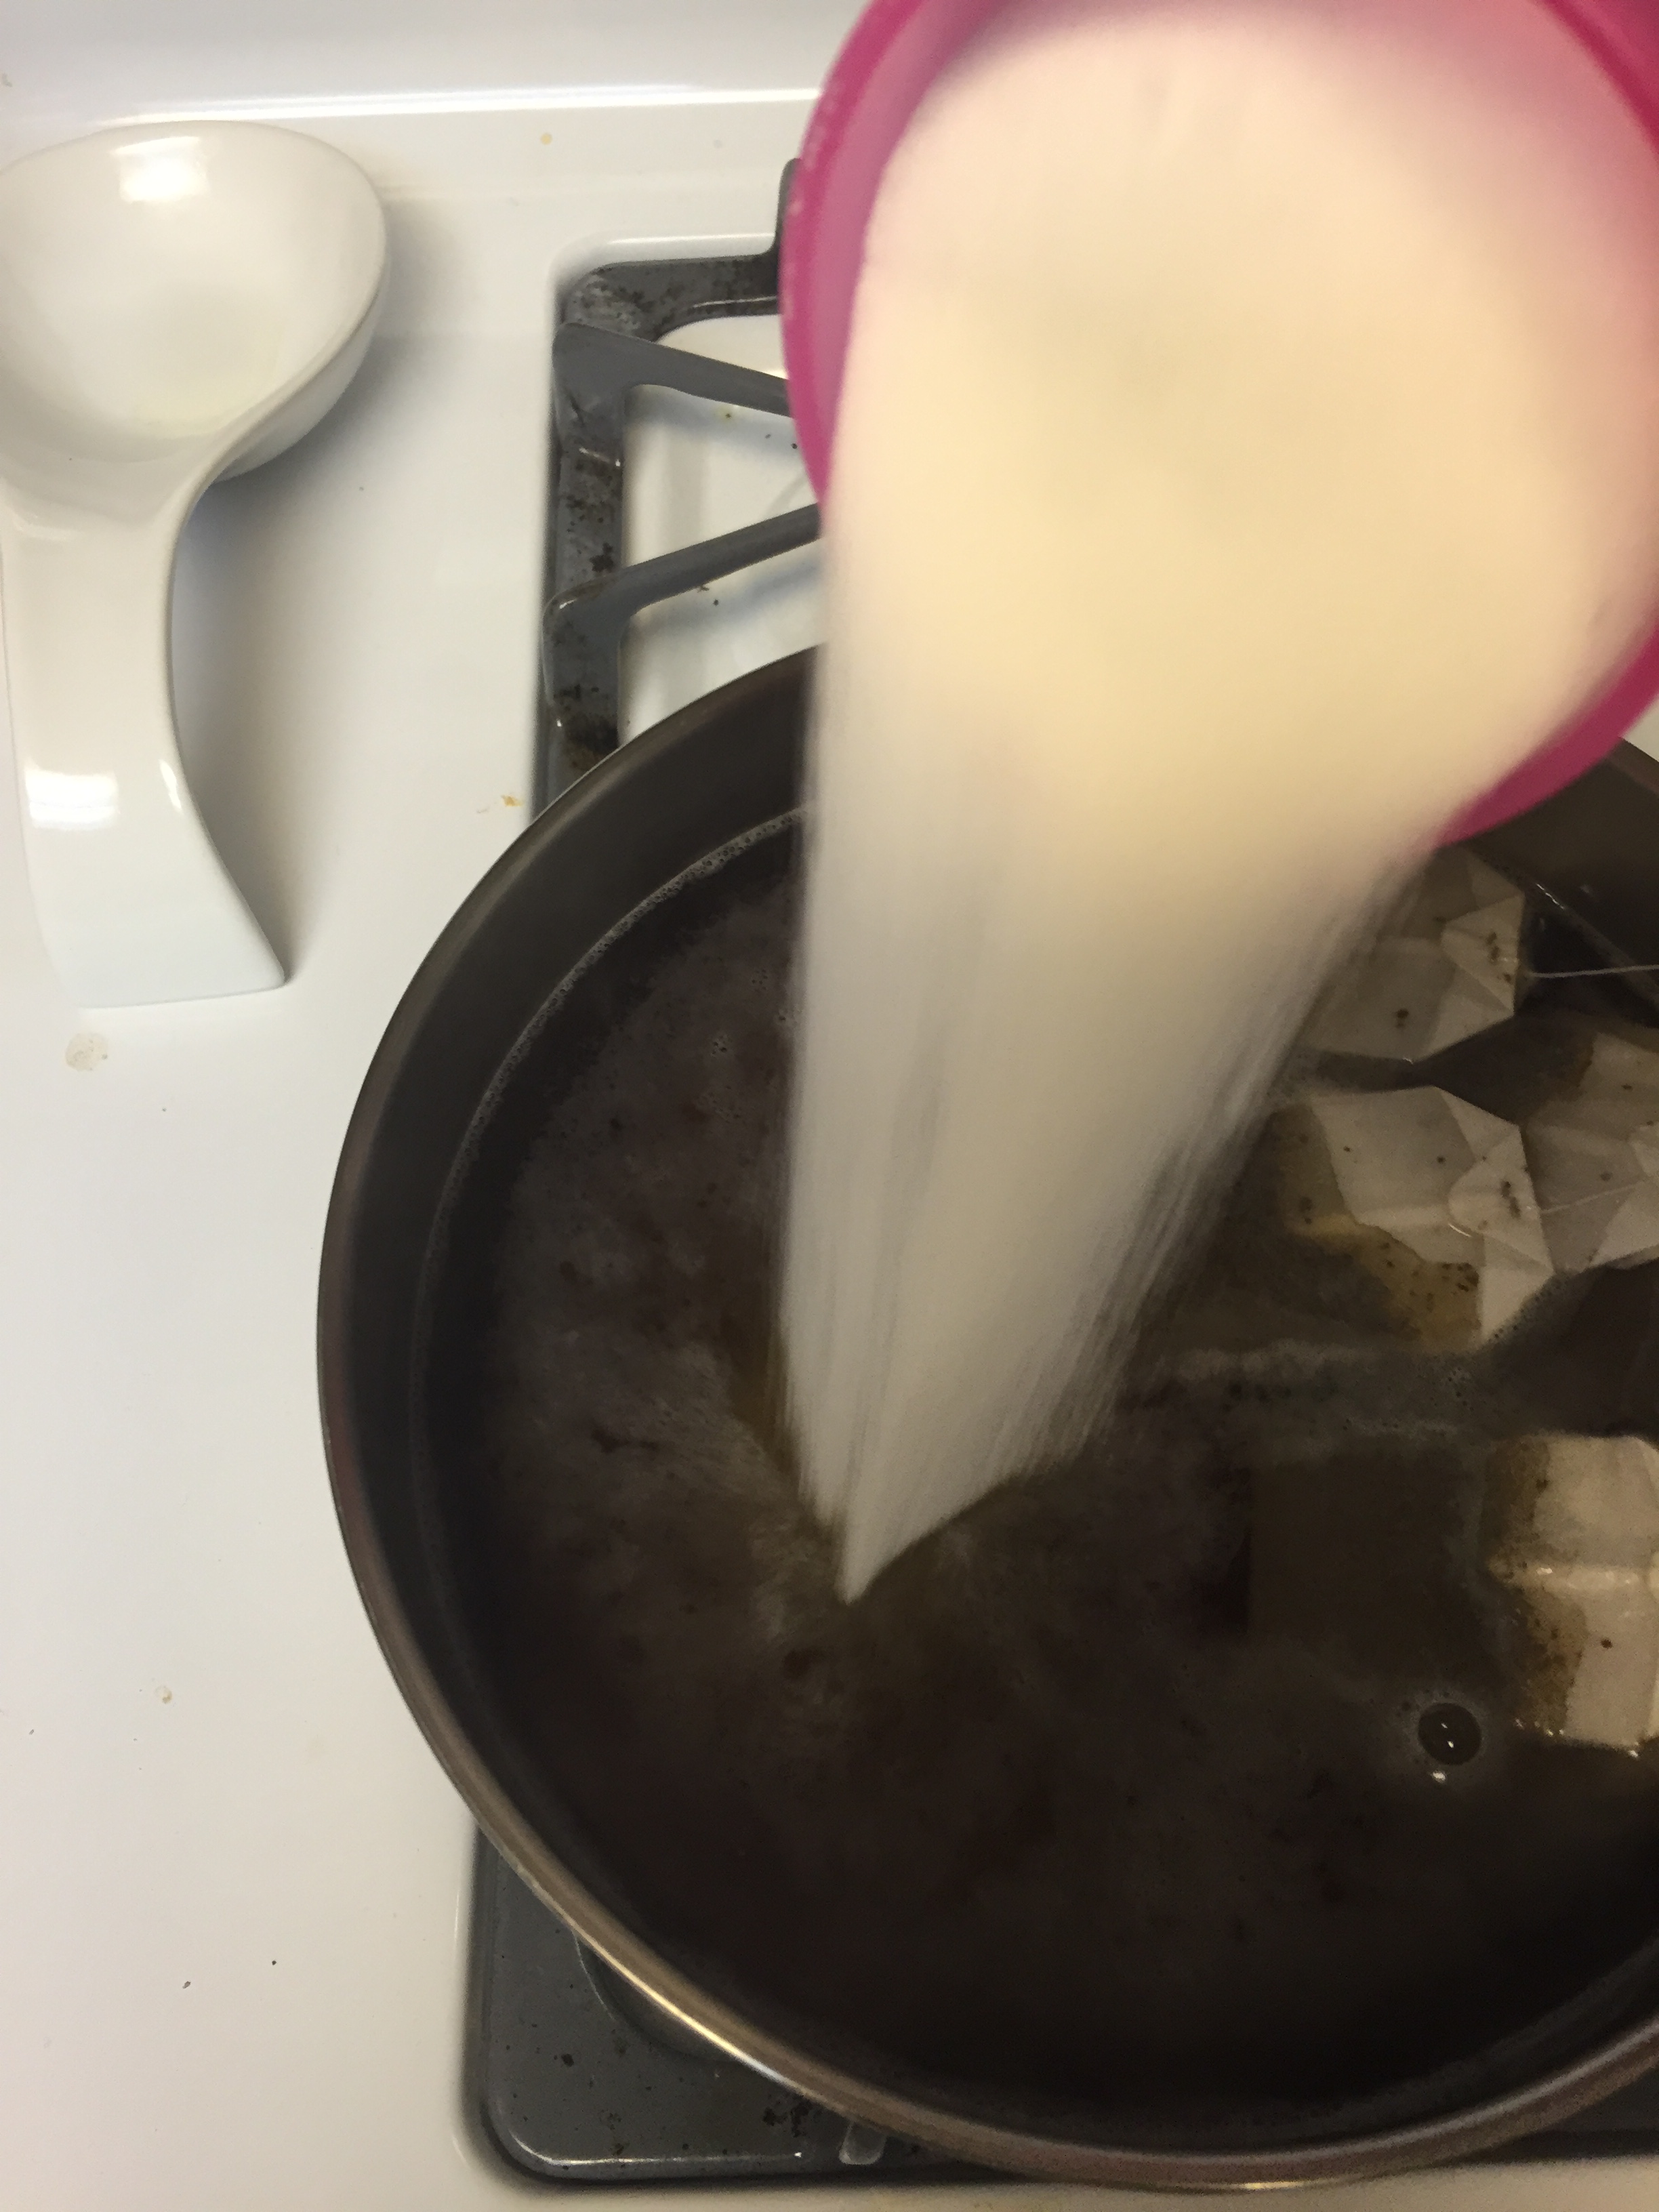
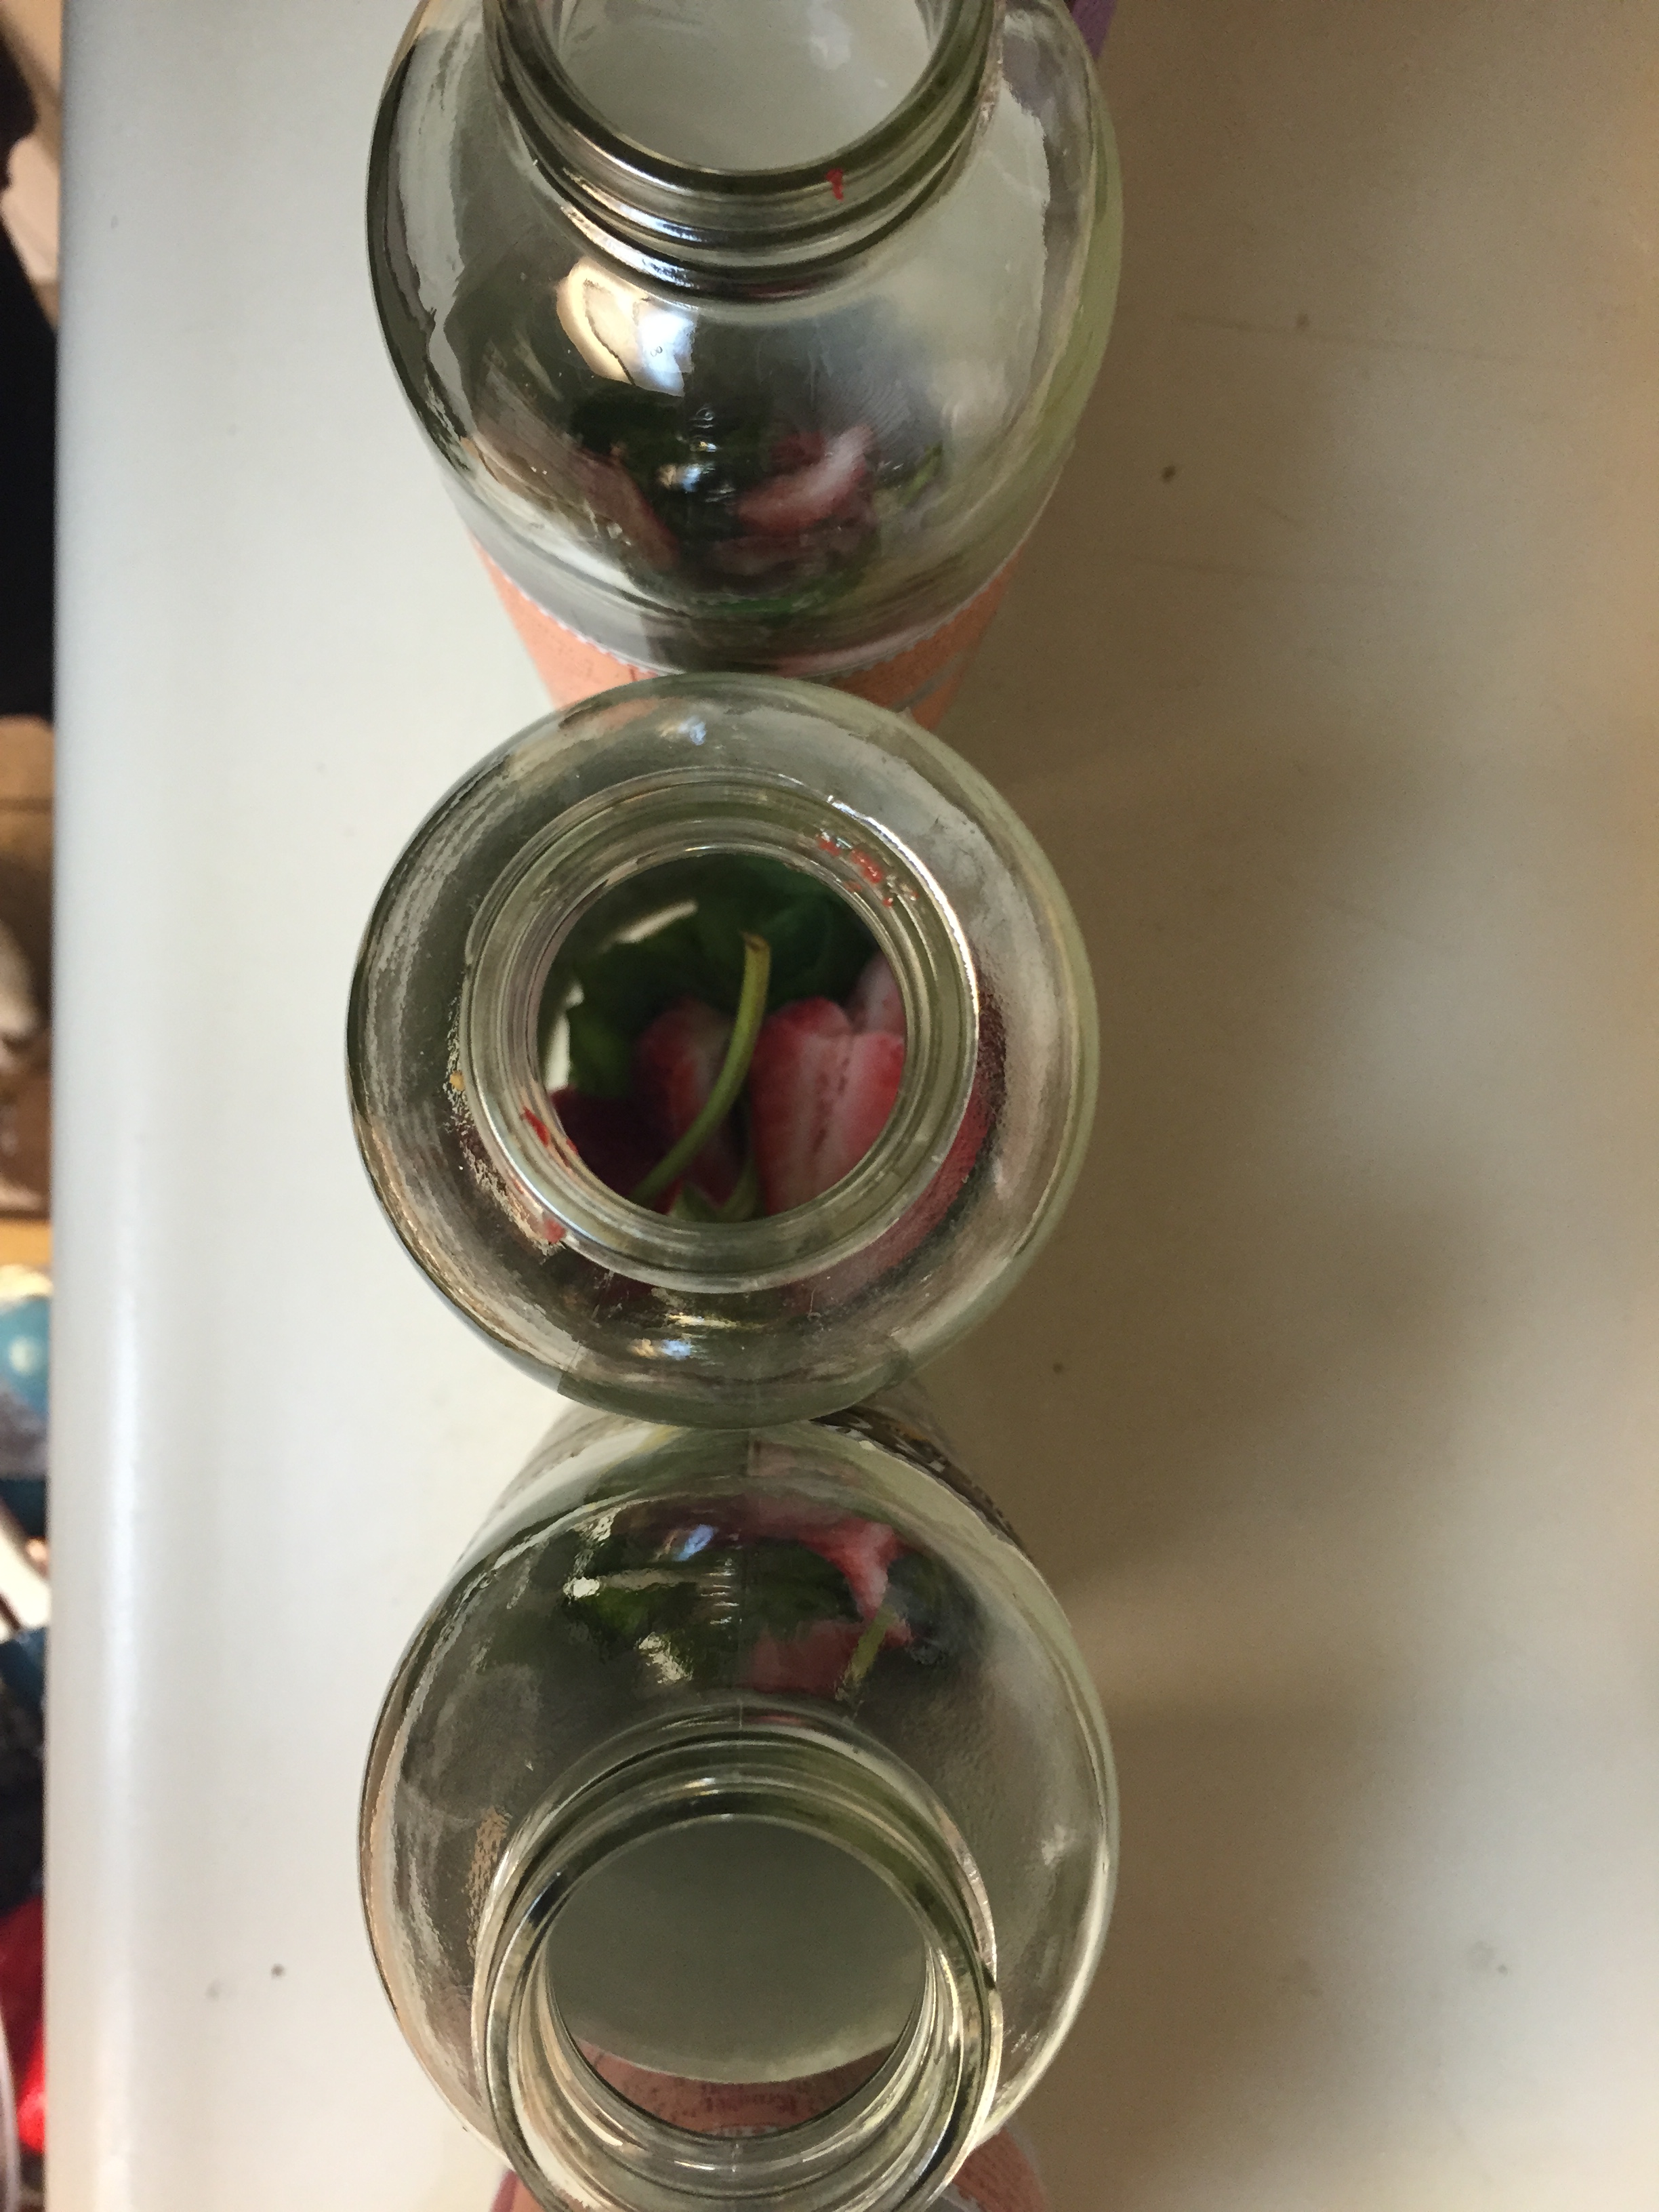
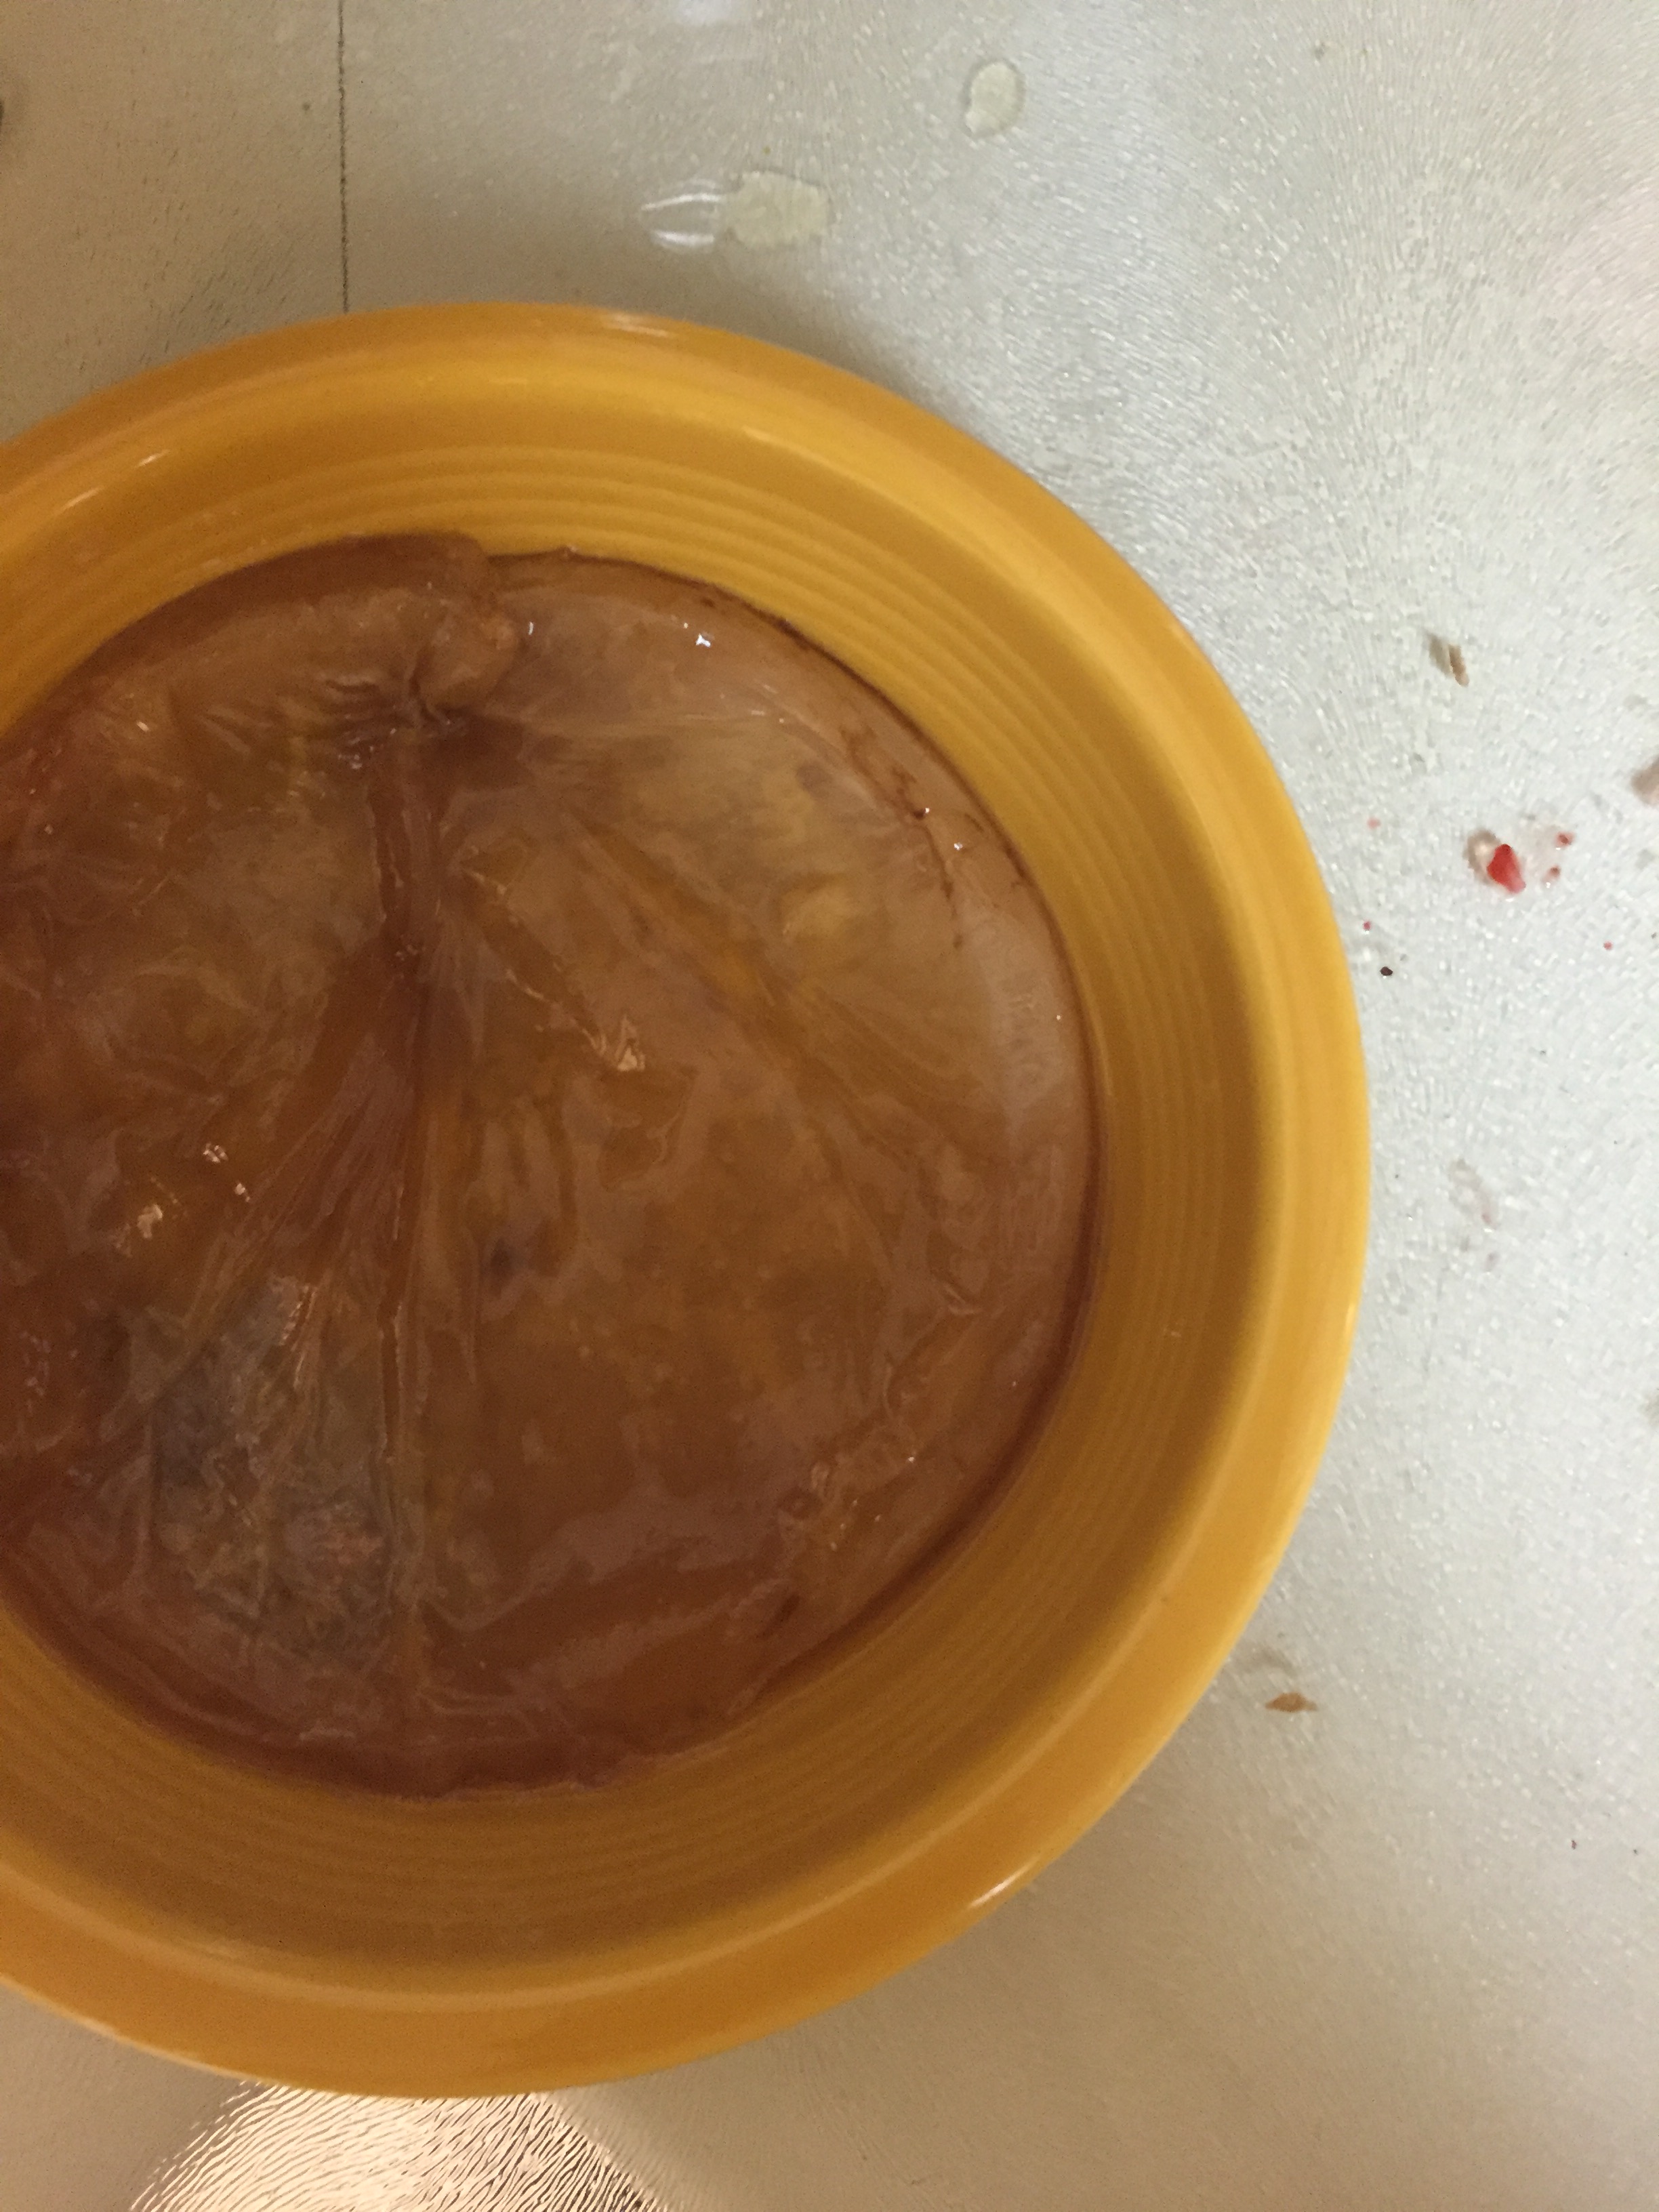
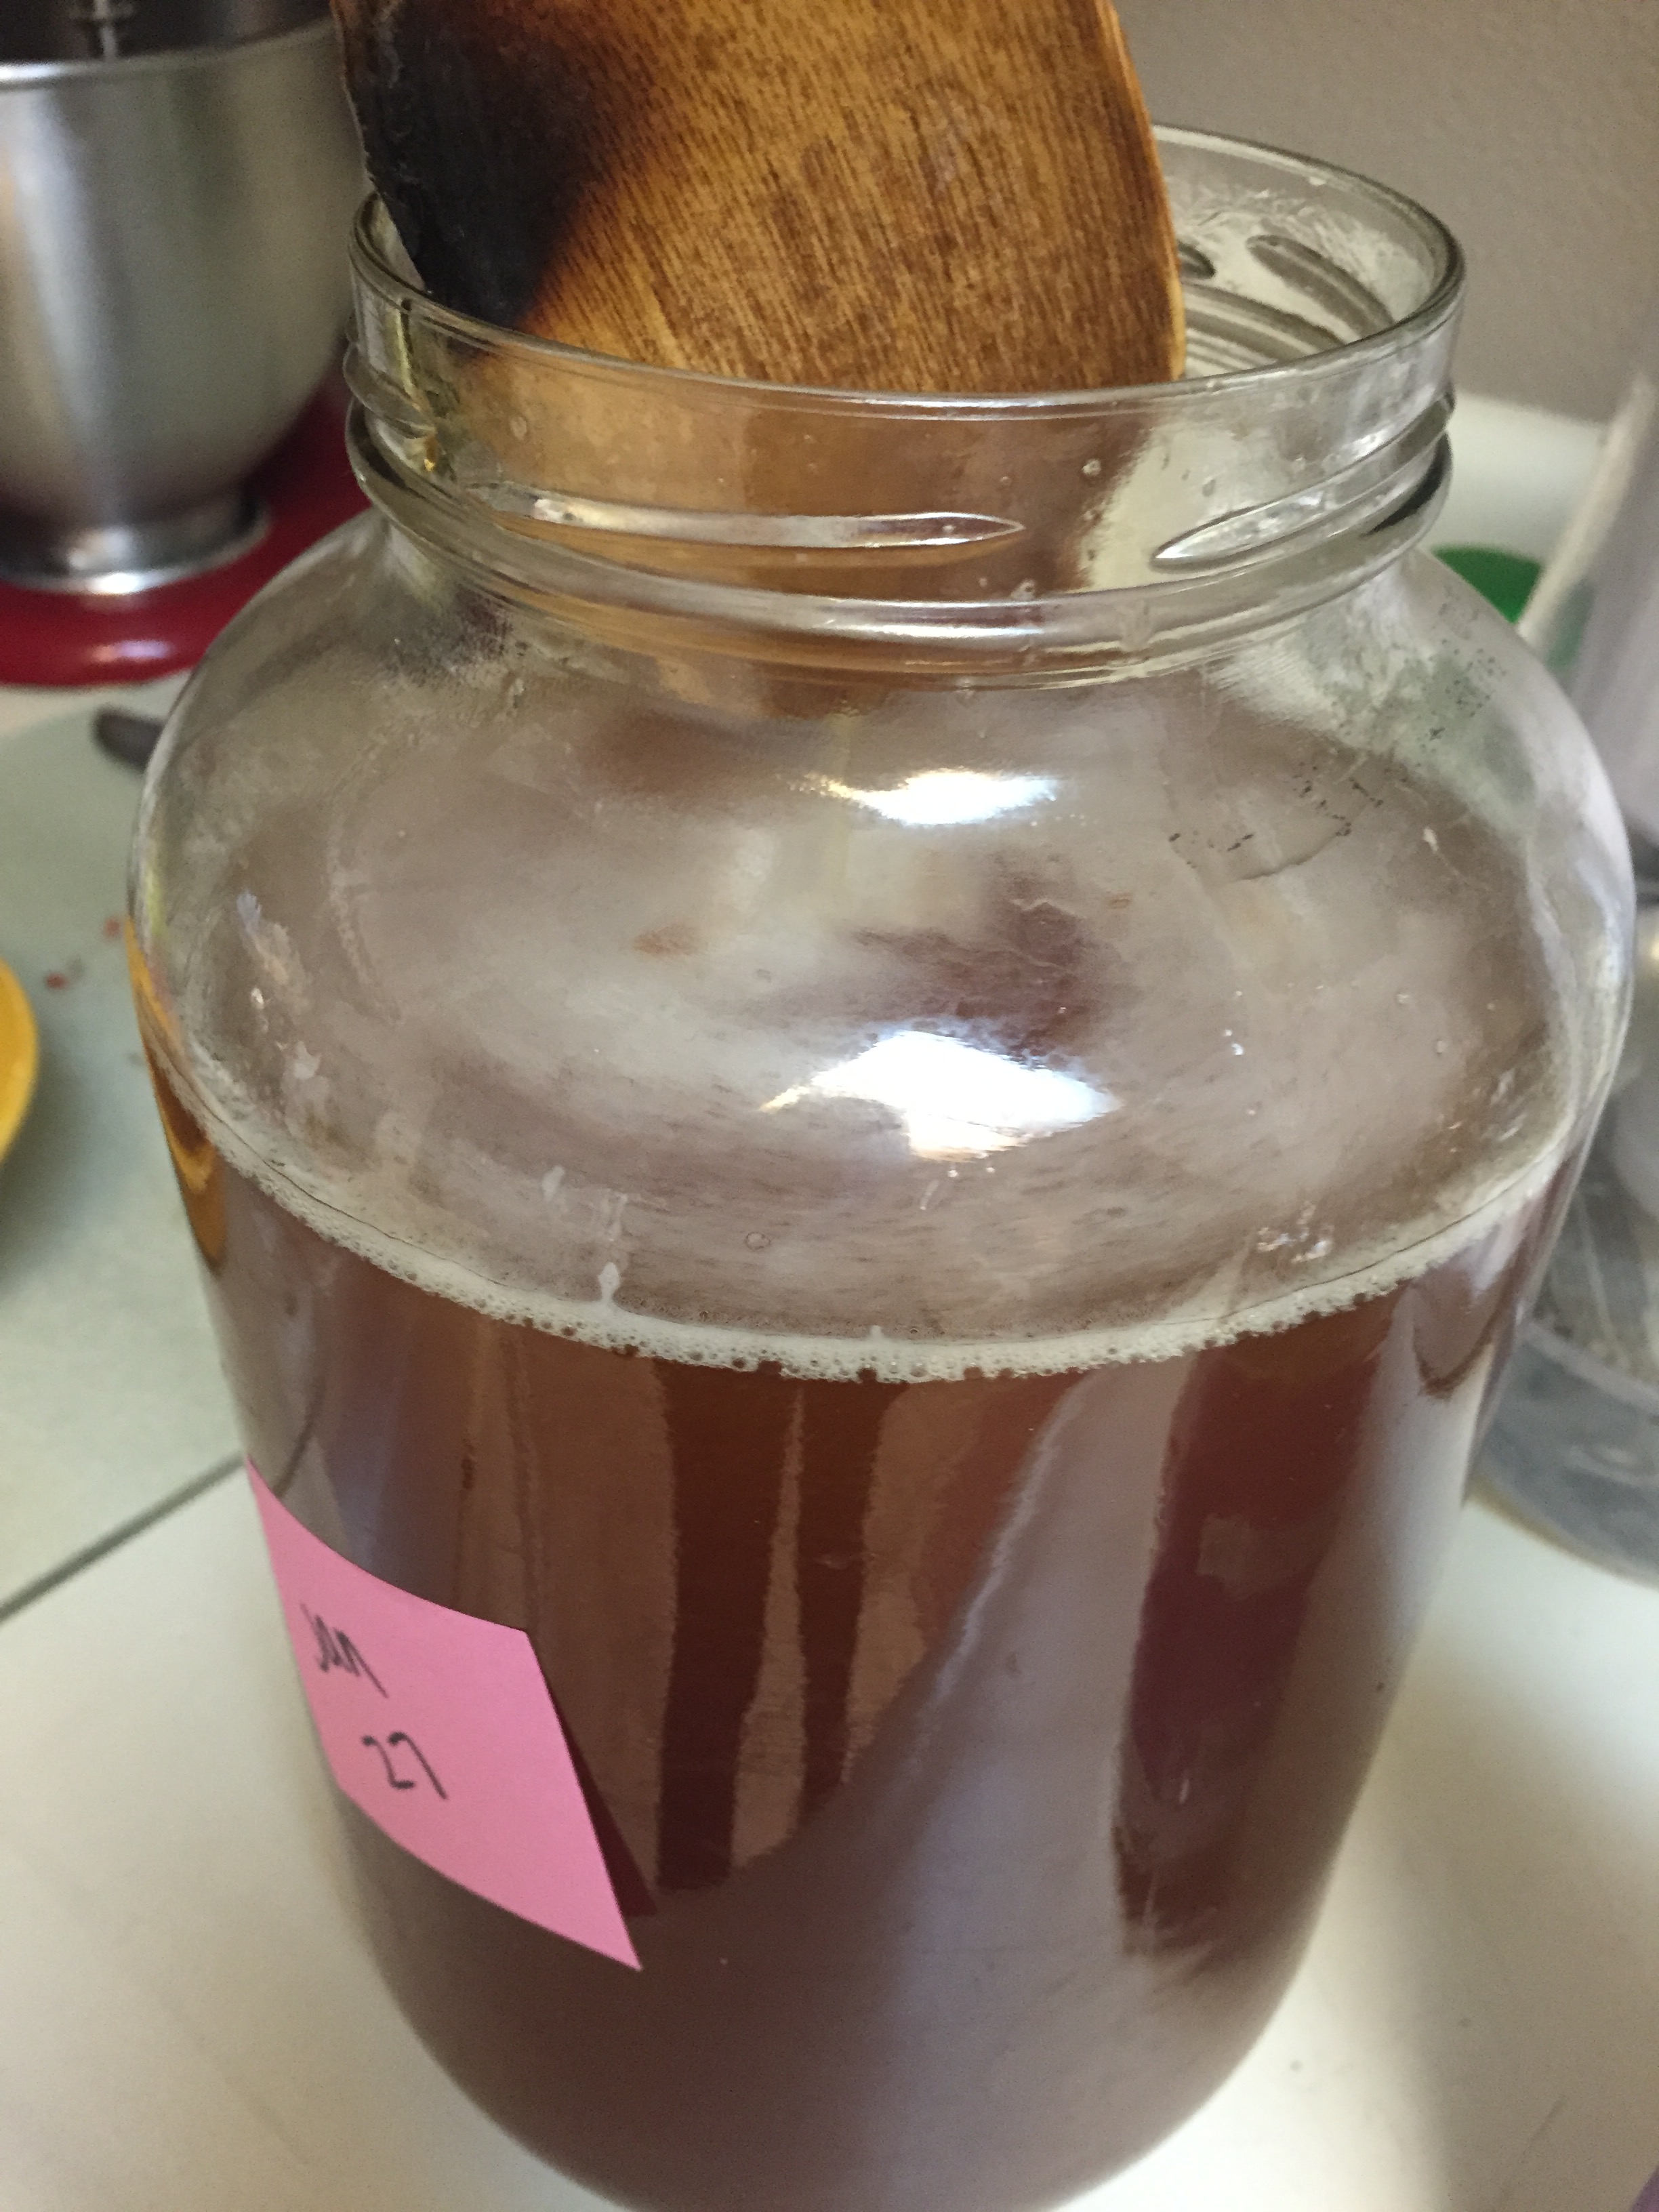
STEP ONE- Make your sweet tea. Boil 8 cups of water, turn the burner off, add 8 tea bags (do not use flavored teas), and add one cup of sugar. The kombucha needs sugar to ferment, skipping or substituting other sweeteners won’t work for brewing kombucha.STEP TWO- Get ready for the flavoring stage. This will only apply if you have a brew that is ready to flavor. If you don’t You can skip this part of the process. 🙂 Add fresh fruit and/or herbs and 1/4 t sugar to smaller bottles or mason jars. I like to save store kombucha bottles, but you can do whatever works best for you. I used frozen strawberries, fresh mint, and ginger for this batch. You can flavor however you want, our personal favorite is strawberry/mint.STEP THREE- Wash your hands, and gently lift the scoby out of your brewed kombucha. You can do it I promise!!STEP FOUR- Place your scoby in a bowl or separate container for later.STEP FIVE- Gently stir your brew.STEP SIX- Using a funnel distribute kombucha into your smaller bottles for the flavor ferment. Leave 1-2 cups of kombucha at the bottom of your jar for your next batch. This is called starter liquid. Side note: Do you see that fizz? I get slightly excited when I see that. Former soda addict confession OVER.STEP SEVEN- Wipe down your bottles with a washcloth before securing the cap to prevent sticky buildup. Ain’t nobody got time for that.STEP EIGHT- Store for 1-5 days. I usually put mine in my cabinet above the stove. You can leave it on the counter, too much stuff on my counters kinda drives me crazy, so I stick it in a cabinet. 🙂 Once you have achieved desired taste place them in the refrigerator. We strain them before drinking, but that’s up to you. We don’t do chunky kombucha over here, but to each his/her own.STEP NINE- Pour your cooled sweet tea in the jar. *make sure it has cooled. If it’s too warm it can kill the scoby!STEP TEN- Add filtered water to about one inch under where the jar starts to curve.STEP ELEVEN- Gently stir.STEP TWELVE- Wash your hands again, and place your scoby on top.STEP THIRTEEN- Place a thin cloth or cheese cloth over the top and secure with a rubber band. Don’t covet my colorful kombucha cover. 🙂STEP THIRTEEN- Wipe the jar down. We don’t want to tempt the ants now do we?STEP FOURTEEN- Wrap a towel around the jar and secure (I use a clothespin.) Find a home for your new brew, and leave it alone for 10-14 days!
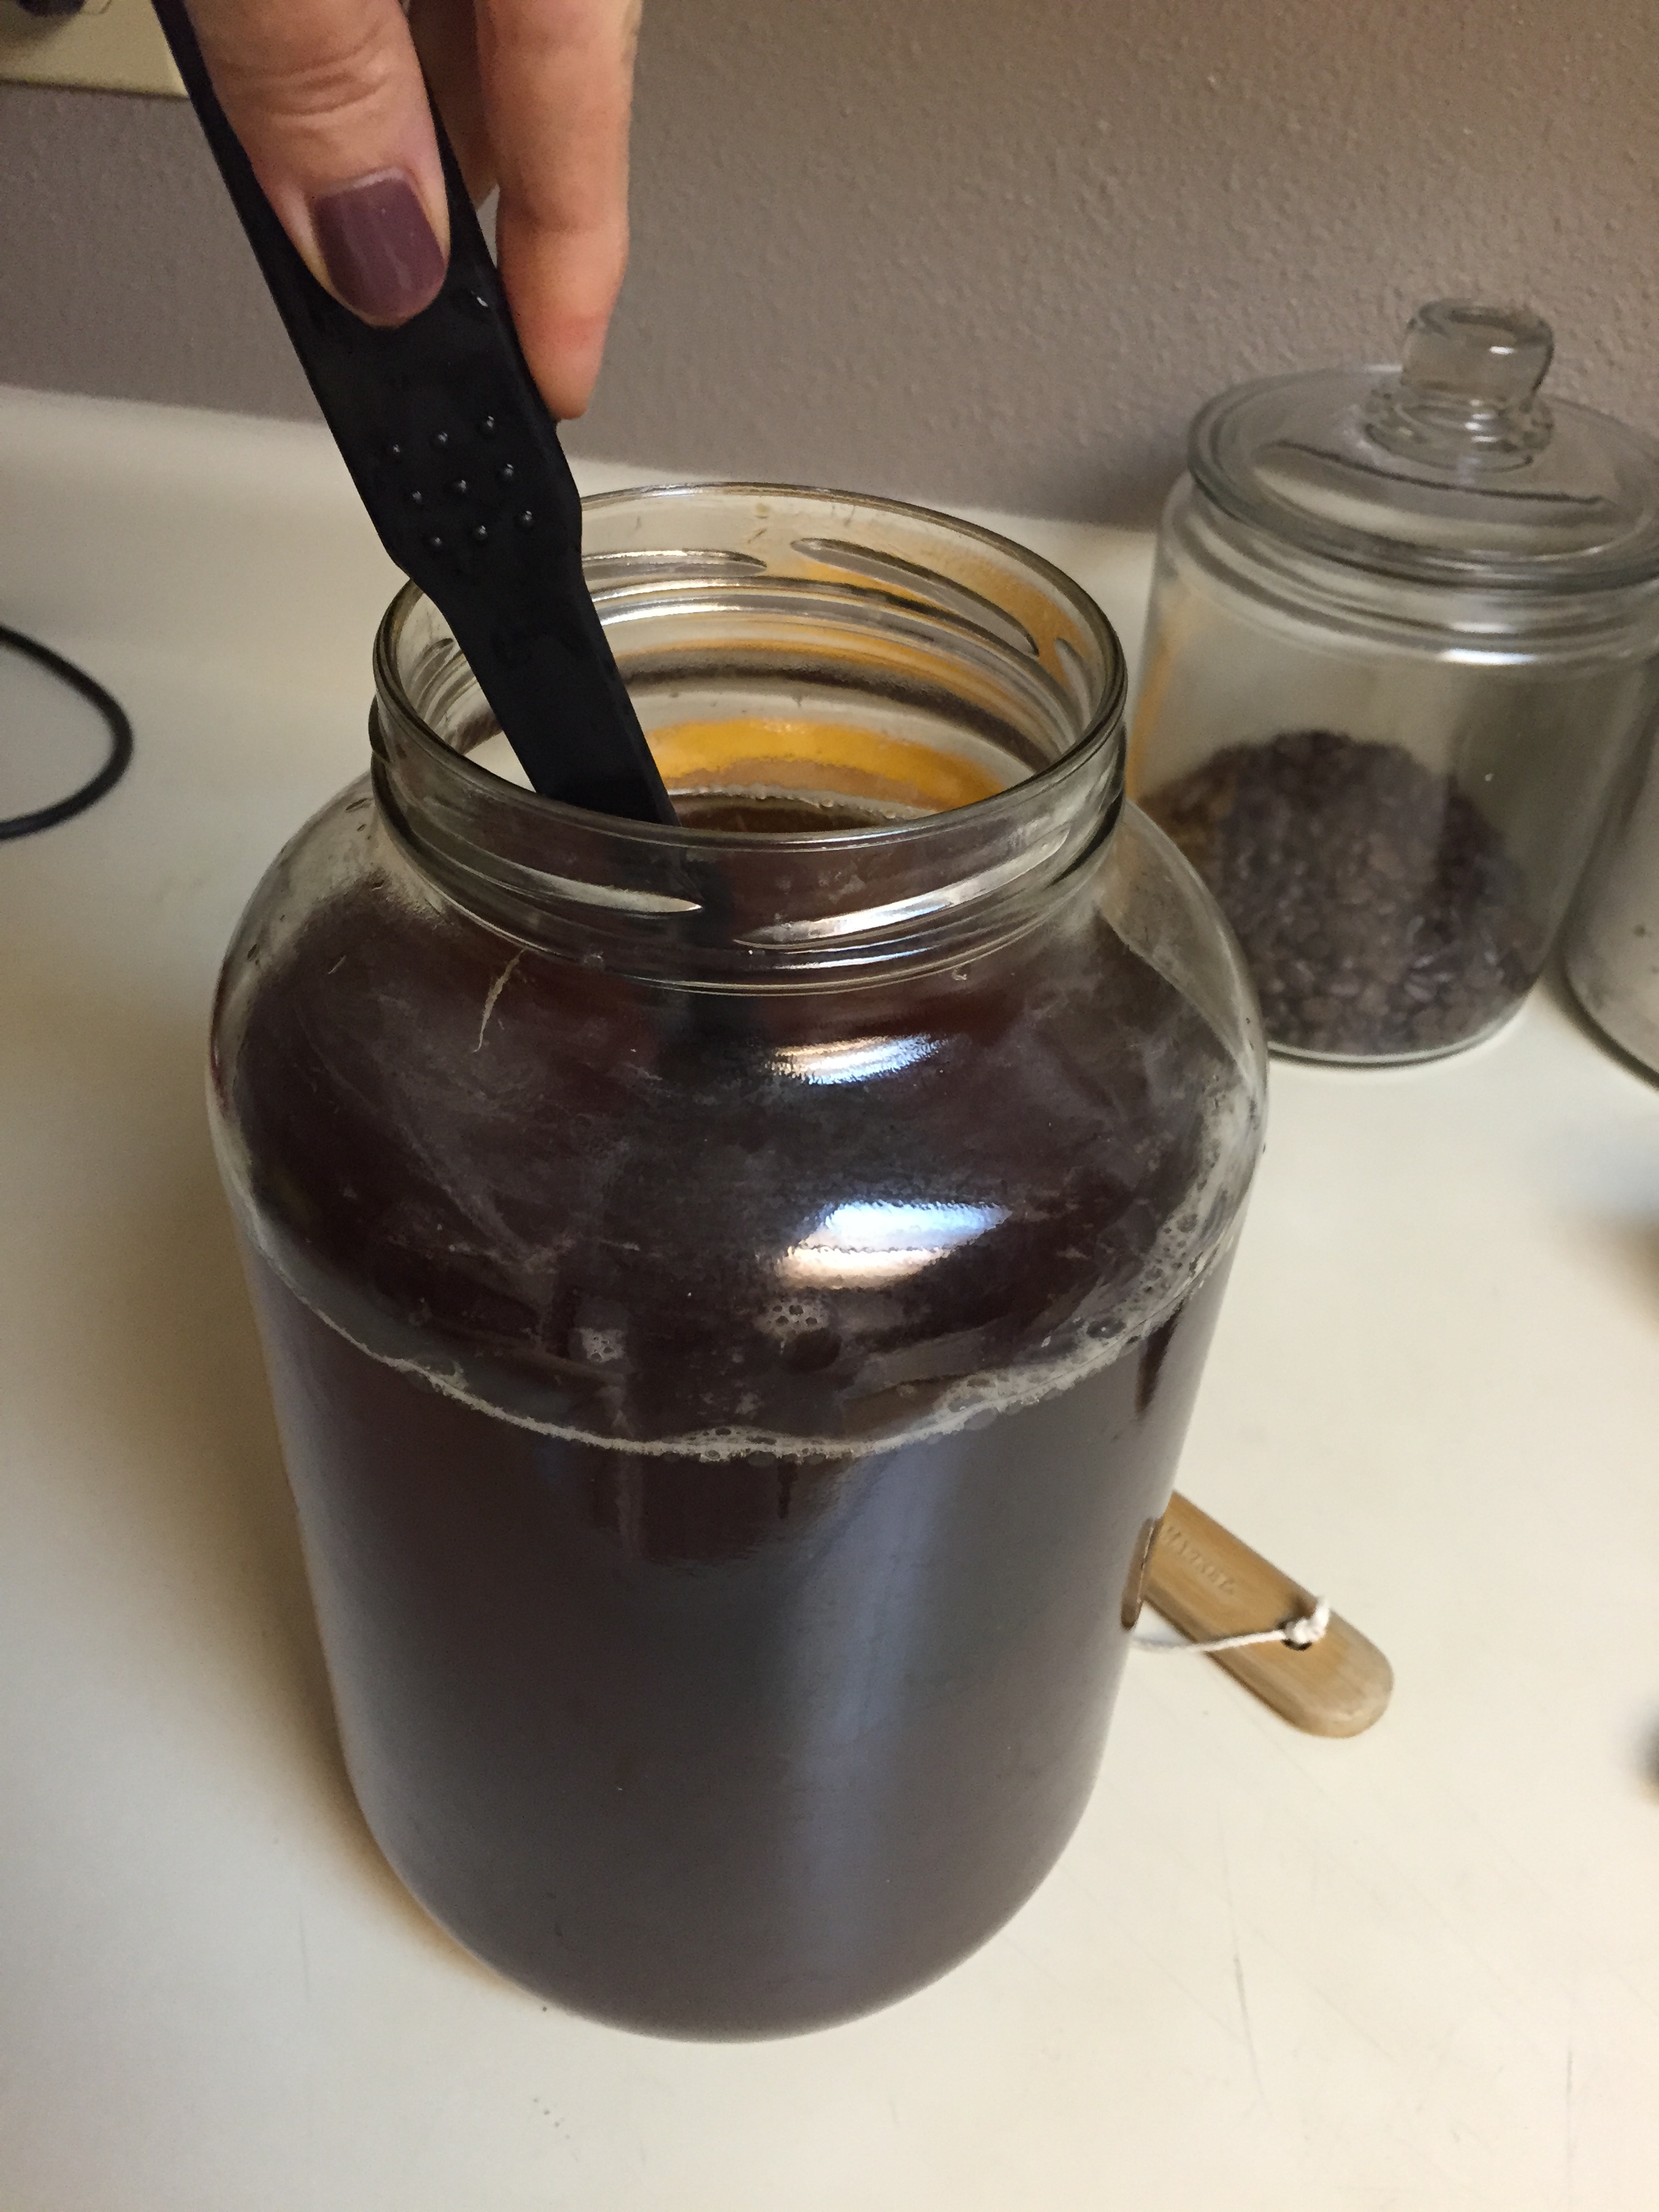
After day 10, you can place a straw in (under the scoby) and see if it’s reached your desired level of fermenting. If not, just let it sit until it has. We like ours at around 10-12 days. This can depend on the temperature in your house. If it’s warm the fermenting with go faster, so ours can vary based on the season.
AND THAT’S IT! You start back at step one to make your next brew. It’s really quite easy and we are totally addicted over here. We feel great when we have our daily kombucha. We usually have 1/2 to 1 bottle a day.